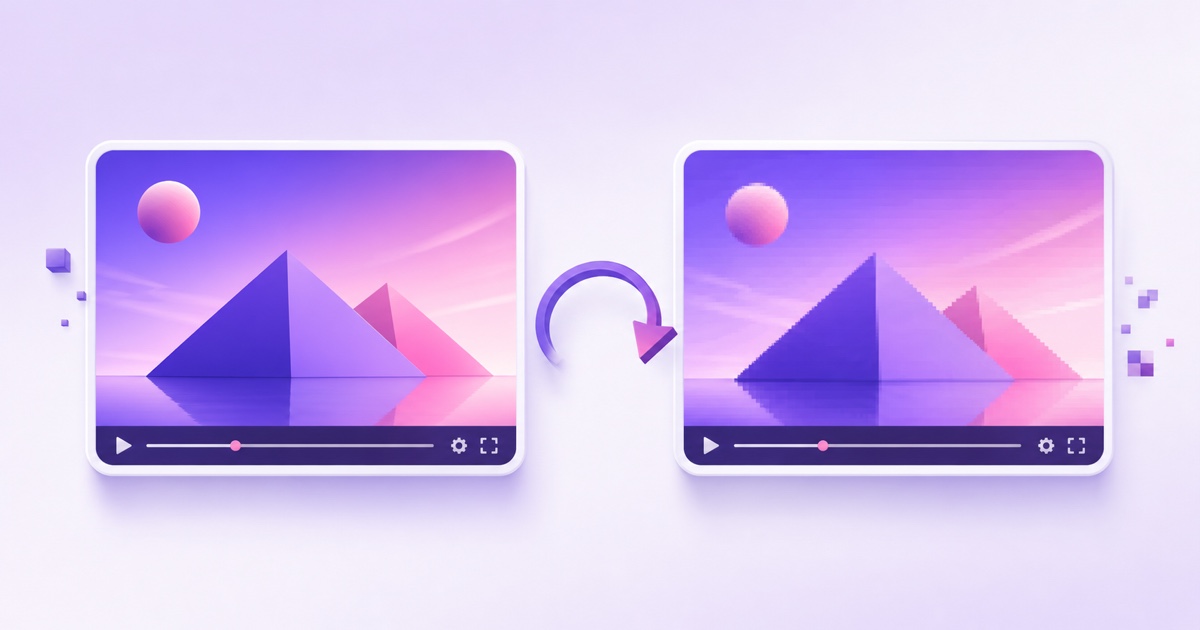
Your exported video looks sharp on your laptop. Then it goes live and the small text turns soft, clean edges grow a faint halo, and a smooth sky becomes a set of colour bands. If your stream quality is worse than the original, the culprit may be an extra encoding pass before the video even reaches the platform.
The important distinction is not simply “high quality” versus “low quality.” It is whether your streaming pipeline copies the compressed video you already made or decodes and compresses it again. That one architectural choice can decide how much detail survives.
The photocopy-of-a-photocopy principle
Imagine scanning a clean document, printing the scan, and then scanning that print. The second scan does not return to the original page for missing detail. It works from the first scan, including every softened edge and tiny defect already baked into it.
Lossy video encoding behaves similarly. An H.264 encoder reduces the data needed to represent a video by describing changes between frames, grouping image information into blocks, and discarding details it judges less visible. When a player decodes that file, it creates a viewable approximation of the original frames; it cannot restore information that the first encode removed.
A second encoder receives that approximation and makes a new set of compromises. It may use a generous bitrate and still be a second generation. Fine text, thin lines, high-contrast borders, film grain, fast motion, and subtle gradients usually reveal the damage first. Look for smeared letters, ringing around edges, blockiness in motion, or bands across what should be a smooth colour transition.
There is no honest fixed percentage for the loss. The result depends on the source, codec, bitrate, encoder, preset, motion, and number of passes. A static talking-head video may hide an extra encode fairly well, while a game replay, animated timer, stock chart, or devotional lyric card can expose it immediately.
Every lossy encode spends from a quality budget. The cleanest pipeline avoids spending that budget twice before the platform receives the stream.
YouTube and Facebook normally create their own playback renditions after ingest so viewers can switch quality as their connection changes. Copy mode cannot prevent that platform-side processing. Its job is to avoid an additional, unnecessary generation in your pipeline before upload.
Where the second encode sneaks in
The most familiar example is OBS. When you add a video as a Media Source, OBS decodes the file into frames, composites it onto the canvas, and sends the result through the selected streaming encoder. This design is necessary when you add a webcam, browser widget, animated overlay, colour correction, or scene transition. But it also means the media file is being encoded again for the live output.
Matching the OBS output bitrate to the file bitrate does not turn that process into a copy. Nor does choosing the same codec name. Once the file has been decoded to pixels and passed to an encoder, it is a new generation.
The same pattern can appear in cloud pipelines that normalize every upload through one live encoder. It is operationally convenient: any input can become a standard output, and real-time overlays are easy to add. “High quality” settings can reduce the visible penalty, but they cannot make a lossy re-encode mathematically lossless.
Do not confuse re-encoding with remuxing. Remuxing changes the container or delivery wrapper around already-compressed audio and video packets. Re-encoding decodes and rebuilds their media content. The former can be lossless at the media-stream level; the latter is not.
What copy mode actually does
Copy mode is also called stream copy, direct copy, or passthrough. Instead of turning compressed video back into raw frames, the pipeline reads the existing compressed packets and repackages them for delivery. For a compatible file going to an RTMP endpoint, the simplified route is: read H.264 and AAC packets, place them into the RTMP-compatible stream, and send them in real time.
No pixel-level decoding and encoding happens in that middle step. The upstream pipeline therefore preserves the quality of the encoded file it was given. The platform may still create viewer renditions, but it starts from your first-generation stream instead of a second-generation copy.
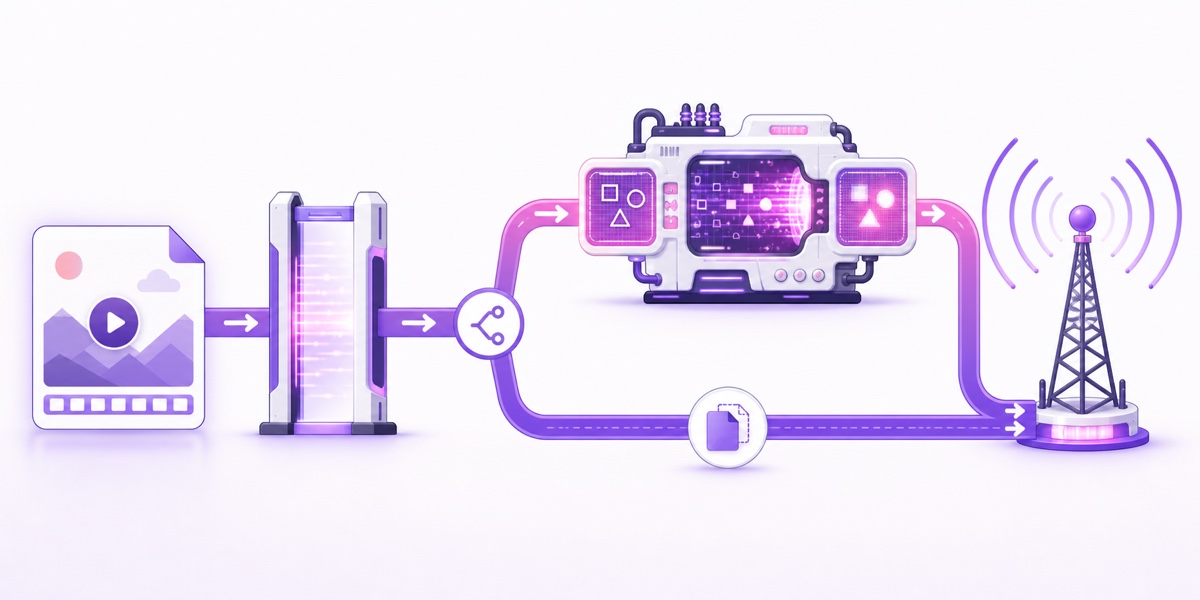
This is why copy mode also uses dramatically less CPU than real-time encoding. Packet reading, timestamp handling, remuxing, and network delivery still require work, but they are far lighter than compressing every frame. That can reduce the hardware burden in a self-managed setup; compare the wider operational trade-offs in our guide to a VPS versus a managed streaming service.
Copy mode has requirements. A familiar .mp4 filename is not enough: the video and audio codecs inside it, their profiles and parameters, timestamps, and the destination's ingest rules must be compatible. Traditional RTMP workflows commonly expect H.264 video with AAC audio, but each platform publishes its own limits.
StreamNeo uses copy mode by default when an upload is compatible. If a file is not suitable for the delivery path, it is converted once to a compatible version and that prepared version can then be copied for subsequent streaming. That keeps conversion a preparation step instead of repeating it every time the loop runs.
When re-encoding is legitimately required
Copy mode is a quality tool, not a rule to force onto every file. Sometimes the pixels genuinely must change, or the existing compressed stream cannot travel through the destination's ingest path.
| Situation | Why direct copy fails | Sensible action |
|---|---|---|
| HEVC, VP9, AV1, or unsupported audio | The ingest path may not accept the codec | Convert once to a supported H.264/AAC stream |
| Mixed playlist specifications | Resolution, frame rate, audio format, or timestamps may change at joins | Normalize the files once before the playlist runs |
| Live overlays or burned-in graphics | New pixels must be composited into each frame | Encode the composed output in real time |
| Broken timing metadata or awkward variable frame rate | Directly copied timestamps can cause pacing or sync trouble | Create a clean constant-frame-rate delivery file |
For codec and export choices, use the best video format for 24/7 streaming guide. If several clips must loop without glitches, prepare them to a uniform specification using the looping playlist workflow.
The durable principle is simple: re-encode once, properly, then copy that prepared file for every stream. Start from the highest-quality master available, choose settings appropriate for the destination, and avoid converting an already compressed delivery file repeatedly. One deliberate conversion is very different from a new live conversion on every run.
Diagnose your own pipeline in five minutes
Begin with a short test clip that makes compression easy to see. Include small text, thin diagonal lines, a smooth dark-to-light gradient, detailed texture, and a few seconds of motion. A clean title card followed by moving foliage or gameplay works better than a flat talking-head shot.
- Choose the source frame. Open the final exported file locally, pause on a revealing frame, and display it at 100% scale. Do not zoom a low-resolution preview.
- Run the normal pipeline. Send that exact file through your usual tool to an unlisted or test live event. Avoid adding overlays so the pipeline itself is the variable.
- Use the highest playback rendition. In the platform player, select the resolution manually and allow playback to stabilize. An automatic low-resolution rendition can look blurry even when ingest is healthy.
- Capture the same moment. Compare the local source frame and live playback at the same display size. Focus on letter edges, diagonal borders, flat-colour blocks, and gradients.
- Repeat with passthrough if available. Look in your tool's documentation or settings for “copy,” “stream copy,” “passthrough,” or “no transcoding.” Keep the file and platform settings unchanged.

If the passthrough run retains visibly cleaner edges, you found an extra encode. If both live tests look similarly soft, investigate ingest bitrate, keyframe settings, source resolution, the selected playback rendition, and the platform's own transcode. Our 720p versus 1080p bitrate guide helps separate insufficient bitrate from generational loss.
Make the comparison fair. Do not compare a local 1080p file to a 720p player window, a still image to a frame captured during motion, or an original file to a screenshot passed through a messaging app. Those introduce other forms of scaling and compression.
Adopt the export-once philosophy
Quality is decided at two gates you can influence. Gate one is the export: codec, resolution, frame rate, bitrate, keyframe structure, and audio settings. Gate two is delivery: whether the streaming pipeline copies that prepared stream or creates another generation.
Keep an edit master or high-quality mezzanine file as your source of truth. From it, create one platform-ready derivative. If you need to change the bitrate or codec later, return to the master rather than transcoding yesterday's compressed derivative again. Label files clearly so a smaller preview export does not accidentally become the source for a permanent 24/7 loop.
- Export once from the best available master.
- Use a platform-compatible H.264/AAC delivery file when direct copy is the goal.
- Make every playlist item consistent before the stream starts.
- Only add a live encoder when the stream genuinely needs live pixel changes.
- Test at the highest viewer rendition and judge detail at equal scale.
A pristine master cannot rescue a pipeline that compresses it unnecessarily, and copy mode cannot repair a poor first export. Get both gates right: prepare a clean delivery file, then keep the streaming path out of its pixels.
Want to test that approach with your own file? Start free — 24-hour trial, no card. Check the live result at full resolution before committing your always-on channel. Plans are available on the StreamNeo pricing page.
FAQ
Why does my stream look worse than my file?
The pipeline may be encoding an already compressed file a second time. Compare matching source and live frames at 100% scale, then repeat with copy or passthrough mode if available. Also rule out automatic low-resolution playback and insufficient ingest bitrate.
Is copy mode always possible?
No. The existing video, audio, timing, and ingest parameters must be compatible with the destination. Unsupported codecs, inconsistent playlists, broken timestamps, or live overlays require a conversion or real-time encode. Convert once to a clean compatible file, then copy that version.
Does copy mode reduce CPU costs?
Yes, dramatically. Passthrough handles compressed packets instead of compressing every decoded frame, so its compute requirement is much lower. It still needs reliable storage, timestamp handling, remuxing, and network delivery, so it is lightweight rather than literally free.