A speed-test result can look impressive and still hide the exact problem that breaks an always-on stream. The large number is usually a short peak; your encoder needs a smaller amount of upload bandwidth delivered continuously, without repeated dips, for as long as the broadcast runs.
Before you trust a home connection with a 24/7 channel, give it ten focused minutes. This checklist lets you test bitrate before streaming with the same video, resolution, frame rate, and network you plan to use. You will finish with a practical green, yellow, or red decision—not a page of networking theory.
What you are actually testing
A live encoder sends data every second. If its video bitrate is 6 Mbps, the connection cannot compensate for a weak minute by having been fast five minutes earlier. The encoder either gets those bits to the ingest server on time or starts dropping them.
That is the difference between burst speed and sustained upstream capacity. A speed test measures a short transfer to a nearby server and reports a peak or average. A live stream is a long, time-sensitive upload to a different destination. The speed test is your screening check; an actual unlisted broadcast is the proof.
Also remember that the number entered as video bitrate is not the whole network load. Audio and transport overhead use some bandwidth too. Other phones, cloud backups, security cameras, and video calls may compete for the same upstream. That is why running a stream at the absolute limit of one speed-test result is fragile.
For this ten-minute check, you are looking for four things: enough headroom, a steady bitrate graph, no network-related dropped frames, and a clean stream-health report from YouTube. Ten minutes cannot prove that an ISP will behave perfectly at 9 p.m. or during a storm, but it can reject a bad setup before you build a channel around it.
Minutes 0–2: record the raw numbers
Connect the streaming computer exactly as you intend to run it. Ethernet is preferable for a fixed 24/7 encoder; if Wi-Fi is unavoidable, test from the actual room and desk rather than beside the router. Leave normal household devices online so the result represents your real connection.
- Run an upload speed test and write down the result in Mbps.
- Repeat it twice, roughly 20–30 seconds apart.
- Use the lowest of the three readings, not the best one.
- As a conservative starting guideline, keep the stream bitrate at or below roughly half that lowest upload result.
The 50% rule is headroom, not a platform law. A well-managed fibre line may remain stable with less spare capacity, while busy Wi-Fi or variable mobile broadband may need far more. For example, if your lowest reading is 14 Mbps, treat about 7 Mbps as the upper edge for the first probe rather than assuming all 14 Mbps are available forever.
For H.264 ingest, YouTube currently recommends 4 Mbps for 720p30, 6 Mbps for 720p60, 10 Mbps for 1080p30, and 12 Mbps for 1080p60. These are platform targets, not promises that your line can carry them. The audio stream and overhead still sit on top, and guidance can change. Use the full 720p-versus-1080p bitrate guide to choose a resolution that fits your measured headroom.
| Planned output | YouTube H.264 recommendation | Practical starting upload floor using 50% headroom |
|---|---|---|
| 720p at 30 fps | 4 Mbps video | At least 8 Mbps measured upload |
| 720p at 60 fps | 6 Mbps video | At least 12 Mbps measured upload |
| 1080p at 30 fps | 10 Mbps video | At least 20 Mbps measured upload |
| 1080p at 60 fps | 12 Mbps video | At least 24 Mbps measured upload |
Do not upgrade the resolution just because one test allows it. A stable 720p feed is a better viewer experience than a 1080p feed that sheds frames whenever someone starts a cloud backup.
Minutes 2–5: run the real-world probe
Now send your planned content through the complete path. In YouTube Studio, go to Create → Go Live → Stream. Create or select a test stream, open its settings, and set Visibility to Unlisted. Unlisted keeps it out of search and subscriber feeds, although anyone with the link can watch it. If live streaming has never been enabled on the channel, activation may take up to 24 hours, so handle that before test day.
Copy the server URL and stream key into your encoder. In OBS, the relevant paths are Settings → Stream for the destination and key, then Settings → Output → Streaming for bitrate. Use CBR, enter the target bitrate you selected, and match the planned resolution and frame rate under Settings → Video. Start with the same owned or licensed loop you intend to broadcast; motion and audio should resemble the real programme.
Start the encoder, wait for its preview in Live Control Room, and click Go Live if your event requires a manual start. Open the unlisted watch-page link on a second device, preferably on a different connection such as mobile data. A platform preview proves that YouTube receives data; the second device confirms that an actual viewer can play the result.
Keep the probe unlisted for the remainder of the timer. The detailed setup, privacy choices, and cleanup steps are covered in how to test a live stream without going public.
Minutes 5–9: read the diagnostics
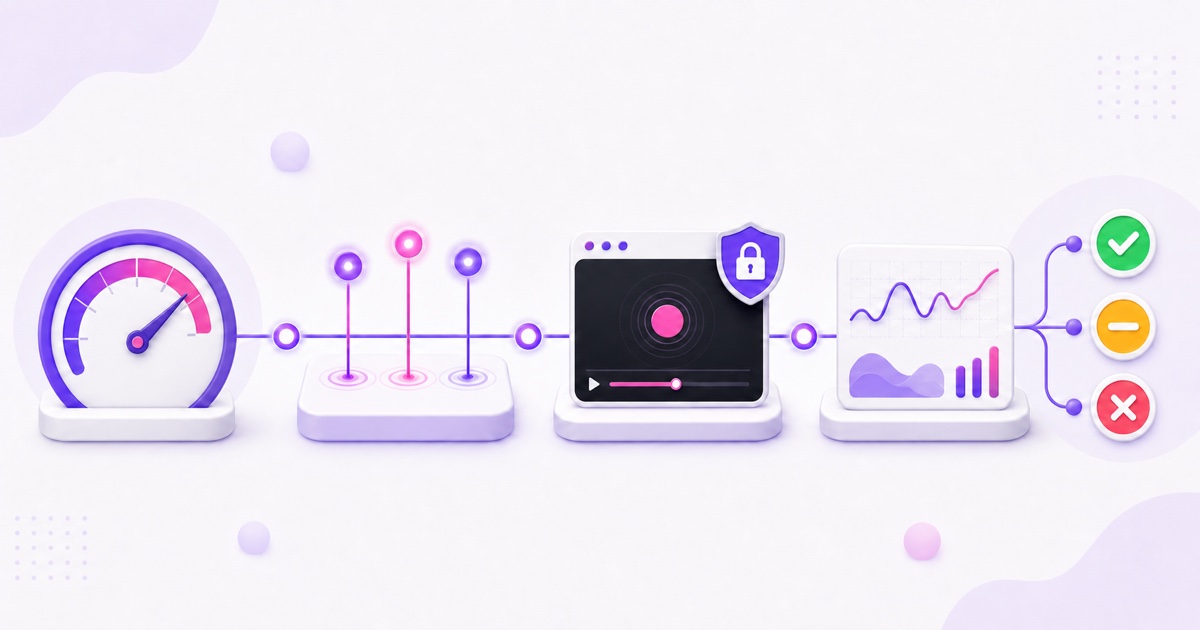
Watch both ends of the connection. YouTube Live Control Room reports stream health and gives a specific message when the ingest has a problem. Encoder software tells you what happened before the signal reached YouTube. One green badge without the other evidence is not enough.
In OBS, open View → Stats. Pay attention to these three counters:
- Dropped frames (network): packets are not reaching the destination reliably. A rising count points to the connection, Wi-Fi path, router, or route to the ingest server.
- Skipped frames due to encoding lag: the CPU or hardware encoder cannot compress frames quickly enough. Lower encoder load or use a faster preset before blaming bandwidth.
- Frames missed due to rendering lag: OBS cannot compose the scene on time, often because the GPU or scene is overloaded.
Next, look at the bitrate graph rather than admiring its highest point. A nearly level line around your target is the useful result. Brief small movement is normal, but repeating drops followed by recovery show that the path is struggling. If Live Control Room changes from excellent or healthy to a warning, read the exact message; platform labels and wording can evolve.
On the second device, listen through a loop boundary and watch a section with movement. Check lip-sync if the content has speech, then manually choose the highest viewer quality you expect people to use. A clean phone playback does not replace ingest diagnostics, but visible freezes or audio breaks make a failed test obvious.
If you see a warning, use the message and OBS counters together. Stable encoder counters plus an ingest complaint suggests the network path or destination settings. Encoding-lag counters with steady network delivery point back to the computer. The YouTube stream-health warning guide maps those signals to fixes without random setting changes.
Minutes 9–10: make the call
End the unlisted broadcast and take a screenshot of Live Control Room plus OBS Stats. Then record the lowest speed result, target bitrate, dropped-frame percentage, and final verdict. Keeping this tiny baseline makes future troubleshooting much faster than relying on memory.
| Verdict | What you observed | Next action |
|---|---|---|
| Green | Healthy ingest, steady graph, no growing network drops, clean playback | Proceed with the planned quality, then repeat a longer test during your busiest evening hour |
| Yellow | Occasional health warnings, visible bitrate dips, or a small but rising network-drop count | Move down one quality notch, such as 1080p to 720p, and rerun the same test |
| Red | Repeated disconnects, a collapsing graph, or network drops that climb throughout the probe | Stop polishing video settings and fix the transport: use Ethernet, pause competing uploads, restart or replace suspect network gear, or contact the ISP |
A red network result is not rescued by a prettier encoder preset. First prove the line can carry a lower bitrate. If even a modest 720p target fails over Ethernet with other uploads paused, test at another time and compare another ingest server if available. Consistent failure gives you useful evidence for the ISP; inconsistent evening failure reveals congestion that a midday speed test missed.
Yellow deserves one controlled change, not five. Drop one resolution or frame-rate tier, keep everything else identical, and repeat. This isolates whether the missing ingredient was simply headroom.
The cloud caveat that changes the bandwidth math
This entire probe answers a home-encoder question: can your connection push a live signal continuously? A cloud loop service changes where that repeated upload happens. You send the source video or playlist once; after that, a datacenter-side encoder sends the 24/7 feed to YouTube. Your home upload is no longer carrying every second of the broadcast.
That distinction is especially useful on an asymmetric fibre plan or 5G connection with strong downloads but variable uploads. Your one-time file transfer can slow down and retry without creating a live freeze. Once the file is uploaded, switching off the laptop or leaving home does not cut the datacenter's stream.
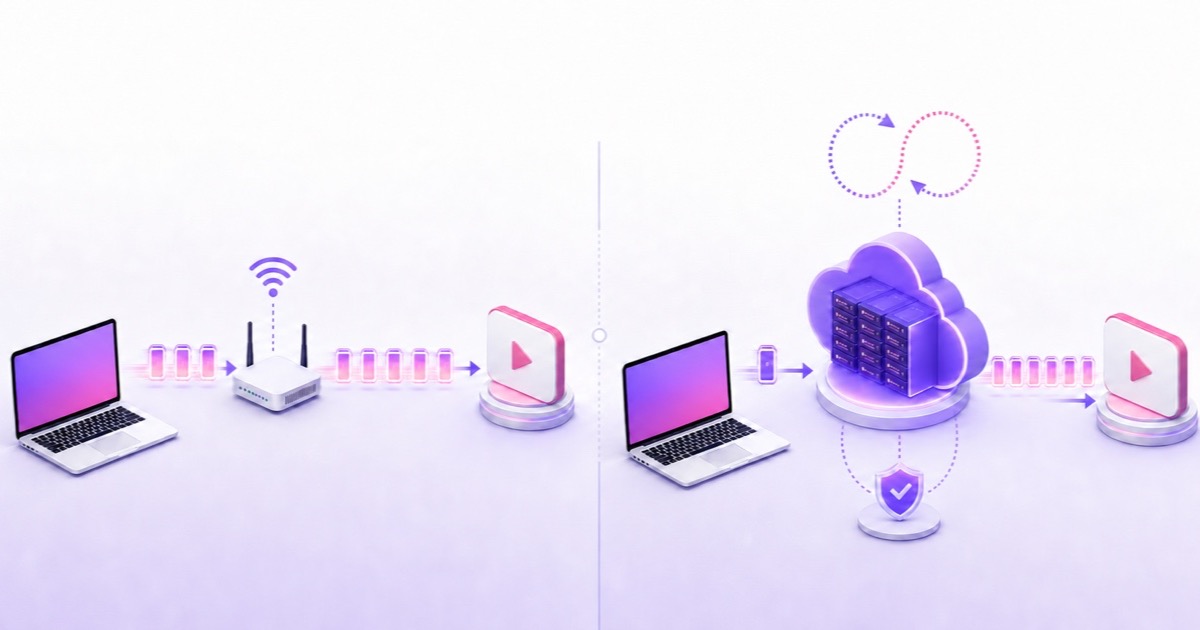
Cloud delivery does not make bitrate irrelevant. The service still needs output settings that YouTube accepts, and the viewer still needs enough download capacity. It removes your home connection, local power, and local encoder from the continuous push path; it does not justify an uptime guarantee.
If the home test is yellow or red—or you simply do not want a computer transmitting all day—compare the practical costs of home, server, and managed 24/7 streaming, then review StreamNeo pricing. Ready to move the loop off your connection? Start free — 24-hour trial, no card.
FAQ
What upload speed do I need for 1080p?
For H.264, YouTube currently recommends 10 Mbps video bitrate for 1080p30 and 12 Mbps for 1080p60. Using the conservative half-the-measured-upload guideline, begin testing around 20 Mbps and 24 Mbps of stable upload respectively. Those are starting floors, not guarantees; audio, overhead, competing traffic, Wi-Fi, and ISP variation may require more headroom. See the bitrate guide before choosing the higher frame rate.
My speed test is fast but the stream stutters. Why?
The test may have captured a short peak to a nearby server, while live video needs sustained delivery to YouTube's ingest. Wi-Fi interference, evening congestion, competing backups, route instability, or encoder overload can all produce stutters. Run the unlisted ten-minute probe and compare Live Control Room with OBS Stats to separate network drops from rendering or encoding lag.
Does a cloud service need my internet 24/7?
No. With a cloud loop service, your connection is needed to upload the source file and configure the broadcast. The provider's datacenter connection sends the continuing live feed, so your laptop and home internet do not need to stay online after the upload and setup are complete.