A polished overlay can make a continuous stream feel like a real channel: a small logo, a clear now-playing bar and a restrained status badge. The catch is that most file-loop services do not have a hidden graphics panel. For a reliable live stream overlay 24/7, you normally add the graphics to the source video before uploading it.
Why there is no overlay button
Copy-mode streaming takes the video and audio already encoded in your file, packages them for the destination and keeps sending them. It does not decode every frame, draw a graphic and encode the result again. That is why it can preserve the exact look of your export, but it also means real-time compositing is unavailable.
The practical trade is simple: burn the overlay into the master once, then loop that finished file. StreamNeo uses this copy-mode approach, so the stream carries exactly what you exported rather than adding a new quality-loss pass during every cycle. For the technical distinction, read why copy-mode streaming avoids re-encoding.
A live clock, chat box or data ticker is possible only when an encoder is actively rendering new frames. That is a different workflow with more moving parts. Static branding and pre-planned track labels are better suited to an upload-and-loop channel.
Design for the frame, not for a monitor
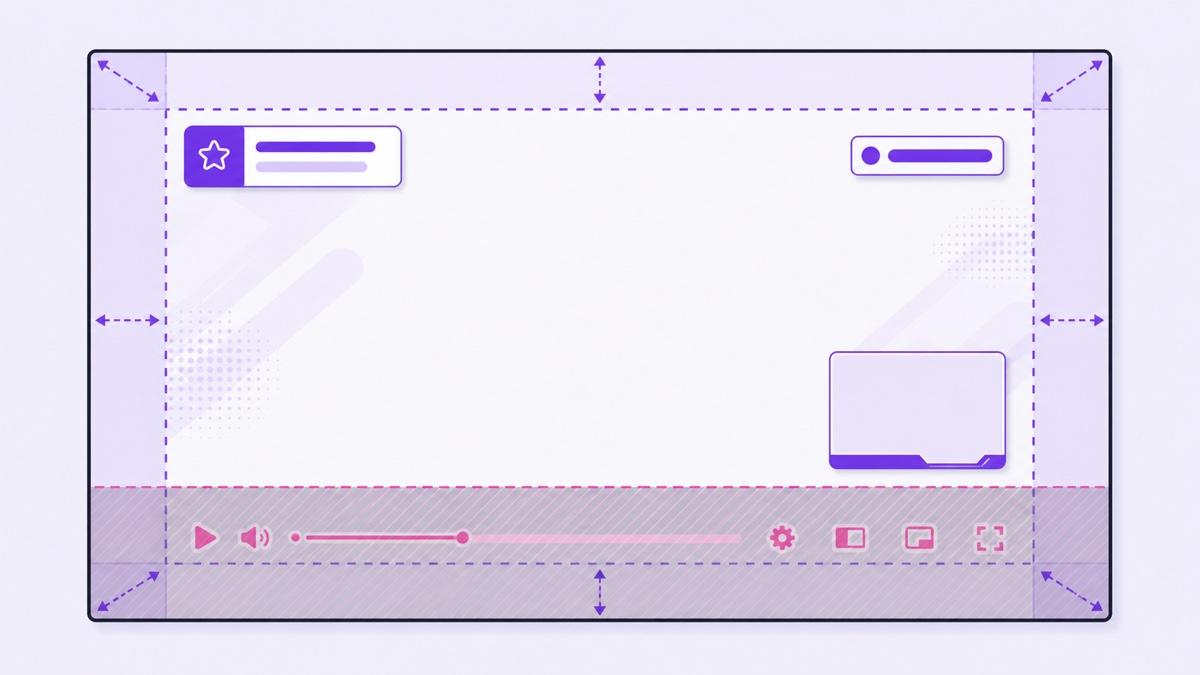
Start with a safe margin of about 5% on every edge. On a 1920×1080 canvas, that is roughly 96 pixels from the left and right and 54 pixels from the top and bottom. Keep lower-thirds higher than the minimum bottom margin because the player can place controls, the progress bar and captions across that strip.
As a working starting point, use 40–56 px type for essential overlay text at 1080p and 28–38 px at 720p. These are design starting points, not platform requirements. Thin fonts, low contrast and long all-caps labels can still fail even at those sizes. A solid or translucent backing plate usually reads better than a shadow floating over a busy video.
Phone viewing is the real test. Export a short sample, open the actual video on a phone and hold it at a normal distance. If a track name needs zooming, make it larger or shorter. Keep the logo secondary; it should identify the channel without covering the subject.
Burn it in with ffmpeg
A transparent PNG is the simplest logo input. This command places it 40 pixels from the top-right corner. The video is encoded once; the existing audio is copied without another audio encode:
ffmpeg -i in.mp4 -i logo.png -filter_complex "[0:v][1:v]overlay=W-w-40:40" -c:v libx264 -preset medium -crf 20 -pix_fmt yuv420p -c:a copy out.mp4Use a high-resolution PNG with clean transparency. If it looks soft, do not enlarge a tiny web logo inside the command. Export a larger source asset and scale it down. To place the same logo at the top-left, change the overlay coordinates to 40:40.
For a scrolling line, ffmpeg's drawtext filter moves text from right to left. The example below uses a real font file, a 40 px face and a translucent box. The escaped comma inside mod() matters:
ffmpeg -i in.mp4 -vf "drawtext=fontfile=/path/font.ttf:text='Subscribe for daily bhajans':x='w-mod(t*100\,w+tw)':y=h-70:fontsize=40:fontcolor=white:box=1:[email protected]" -c:v libx264 -preset medium -crf 20 -pix_fmt yuv420p -c:a copy out.mp4Change t*100 to a smaller value for a slower crawl. Avoid cramming a paragraph into the strip; one short instruction or credit is enough. If your ffmpeg build reports that drawtext is unavailable, use a build compiled with the required font support or render the title in an editor instead.
A static LIVE or 24/7 badge is just another transparent PNG. Place it separately so you can resize or replace it without rebuilding the logo artwork:
ffmpeg -i in.mp4 -i badge.png -filter_complex "[0:v][1:v]overlay=40:40" -c:v libx264 -preset medium -crf 20 -pix_fmt yuv420p -c:a copy out.mp4If you need a logo, badge and marquee together, combine them in one filter graph and perform one final export. Running three separate exports creates three generations of compression. Batch the visual decisions, test them on a short clip, and encode the complete master once.
Do it without a terminal
CapCut, Canva and DaVinci Resolve all follow the same model: your video sits on the base track, and the logo, title or lower-third sits on a layer above it. Stretch each permanent overlay layer across the entire timeline. For a badge that appears only at segment starts, trim its layer to the required duration.
- CapCut: import the video and PNG, place the PNG on an overlay track, set its position and scale, then extend it to the end of the clip.
- Canva: create a video design at the same dimensions as the source, place the video as the background, add the graphic and make sure it persists across every page or scene.
- DaVinci Resolve: place the graphic on the track above the video, use the Inspector for position and zoom, and use a title layer for the lower-third.
The editor does not remove the need for matched exports. Keep resolution, frame rate, pixel format, audio sample rate and channel layout consistent with the rest of the loop. If one file is 25 fps and another is 30 fps, or one is 44.1 kHz while the others are 48 kHz, a clean concatenation can fail or drift. The looping playlist guide explains how to keep a multi-video set compatible.
The clock trap
Never burn the real time of day or today's date into a short looping file. When the file returns to frame one, the displayed clock jumps backwards. Viewers notice that reset immediately, and the overlay intended to make the stream look polished instead makes it look broken.
An elapsed timer has the same limitation: it returns to zero with the video. If a genuine clock is essential, render one continuous pass for the full planned duration or use an encoder that generates frames in real time. The first option creates a large, time-specific asset; the second is no longer a simple copy-mode loop.
For an evergreen channel, use relative labels such as “morning session,” “evening aarti” or “focus block.” Put dates, programme times and event deadlines in the title, description or pinned message, where they can be changed without re-encoding the video.
Now-playing bars, done realistically
A copy-mode loop cannot inspect a track and update a title bar by itself. There are two honest routes. The simplest is a static card listing the full running order. It is easy to maintain, but the viewer must work out which item is playing.
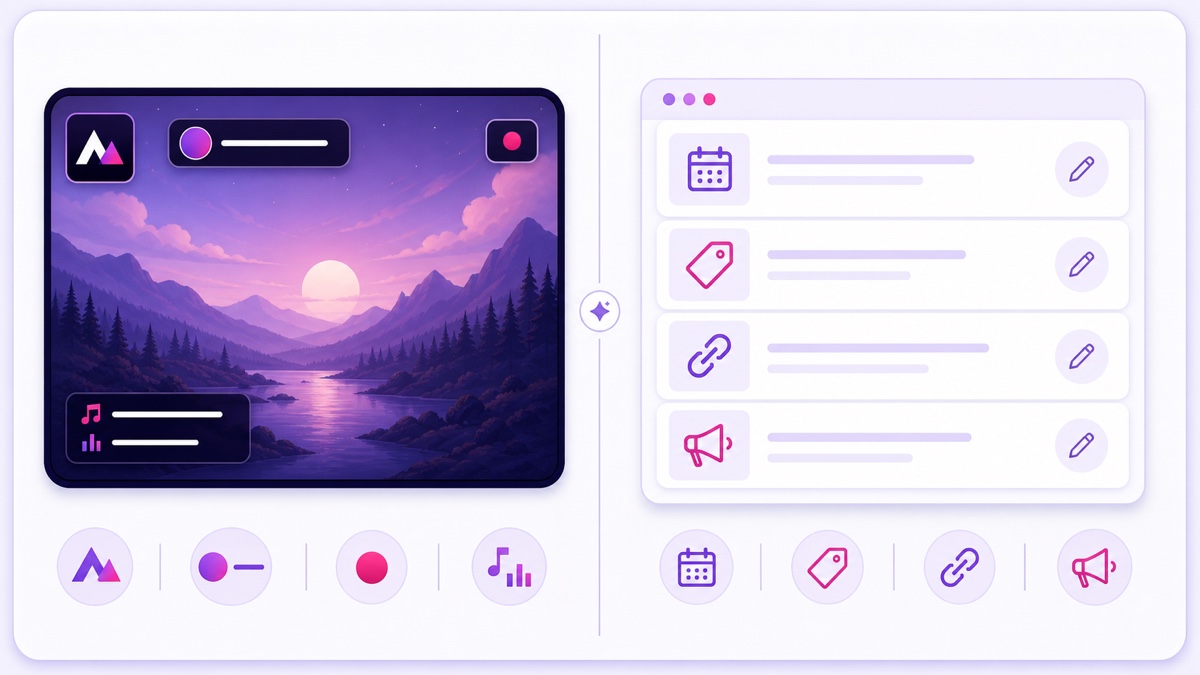
The accurate route is to make each track its own matched video segment. Burn the correct title, artist or speaker into that segment, then concatenate the segments in order. When segment two starts, its own pixels contain the second label. This works with music, bhajans, lessons and podcast chapters because the change is planned into the file rather than generated live.
- Prepare every segment at the same resolution, frame rate and audio sample rate.
- Create one reusable lower-third template with room for the longest title.
- Render a short sample of every segment and check spelling, language glyphs and placement.
- Encode the approved segments once, concatenate them, then test the final seam.
The cost is editorial effort. Any changed track name means re-rendering that segment, and reordering tracks means rebuilding the combined block. For a catalogue that changes weekly, keep source projects organised by segment rather than creating one twelve-hour editing timeline.
What to burn in and what belongs elsewhere
| Burn into the video | Keep in metadata |
|---|---|
| Logo and channel handle | Dates and exact programme times |
| LIVE, replay or 24/7 marker | Prices and limited offers |
| Track title and permanent credits | Campaign and affiliate links |
| Short evergreen call to action | Anything likely to expire |
The decision test is permanence. If the information will still be true after the file has looped for six months, it may belong in the pixels. If it can change next week, keep it in YouTube Studio, your description or a pinned message. This is also why a thumbnail is separate from an overlay; use the 24/7 stream thumbnail guide for the click-facing artwork.
Test before you commit twelve hours of render
Do not discover a misspelling after an overnight encode. Render the first 60 seconds with the full overlay stack. Watch that sample at full size, then on a phone at arm's length. Open the player controls to see whether they cover the lower-third, and enable captions if the stream will use them.
Next, test motion and seams. A marquee should move smoothly without touching the edge of its backing plate. Play the last ten seconds of the loop followed immediately by the first ten seconds; logos must not jump position, and a fading lower-third must not expose the cut. Check that the audio is still present after using -c:a copy.
Keep the original clean master, the overlay assets and the project or command in one folder. Future changes should start from the clean master, not from an already compressed output. If the stream is built from photos rather than video, the same burn-in rules apply; see the slideshow and music channel method.
Once the short test is readable and the loop seam is clean, render the full file once and upload that final master. Start free — 24-hour trial, no card.
More from the journal: 24/7 YouTube Streaming: The Complete 2026 Guide · Playlists, Chapters and the Watch Page: Making a 24/7 Loop Discoverable · Repurposing a 24/7 Loop Into Shorts, Reels and TikToks · Channel Memberships on a Loop Channel: Perks That Do Not Need You Online
FAQ
Can I add an overlay without re-encoding?
No. Copy mode cannot composite new pixels, so a logo, badge or lower-third must be burned into the video during one export. After that, the finished file can be looped without another visual encode.
Why does my burned-in clock look wrong?
The clock is part of the file, and the file eventually restarts. That sends the displayed time back to its value at frame one. Keep clocks and dates out of a looping master unless you render one continuous, non-looping pass.
Can the now-playing text change with each track?
Yes, but only when each track is a separate segment with its own burned-in title, or when a real-time encoder generates the bar. For a copy-mode loop, render the labelled segments to matching specs and concatenate them.