You have a finished video and want it on YouTube’s live watch page today. The missing piece is not another edit or upload: it is an encoder that sends the file to YouTube in real time.
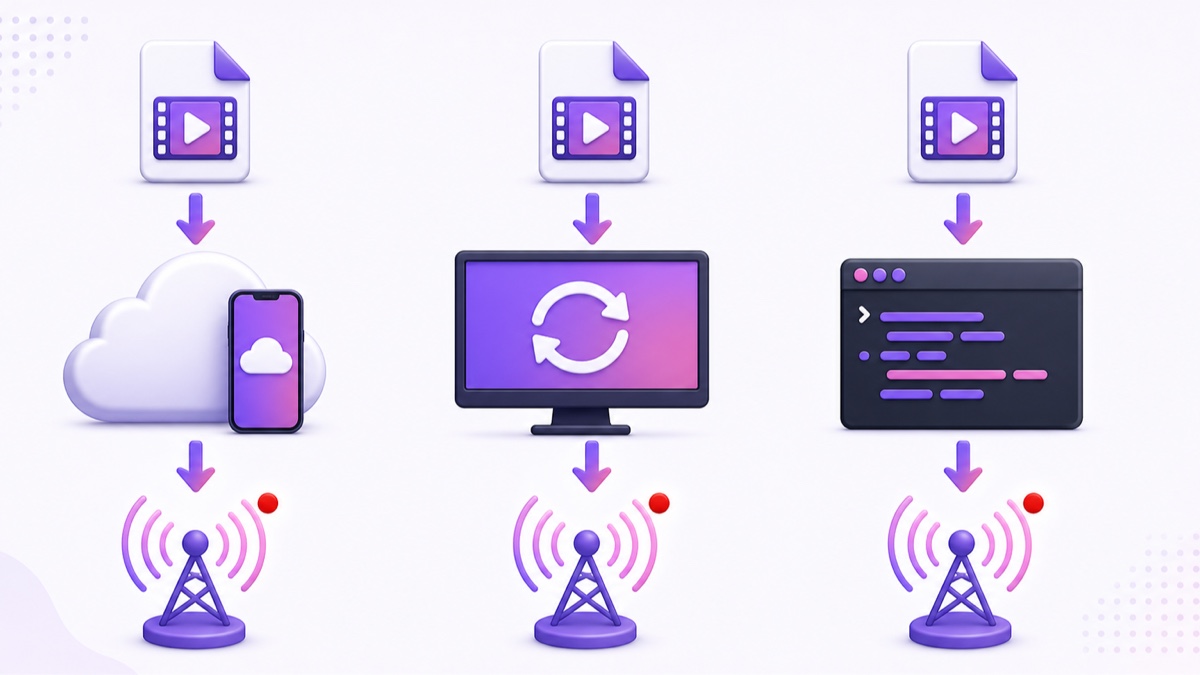
This guide shows three workable routes—a cloud loop service, OBS on your computer, and FFmpeg in a terminal. Start with the preparation steps because the same YouTube settings, file checks, and safety rules apply to all three.
Before anything: enable live streaming
Open YouTube Studio → Create → Go live. If this is your first live stream, follow the prompt to verify the channel and enable live streaming immediately. YouTube’s current encoder setup documentation says first-time activation may take up to 24 hours; after activation, future encoder streams can start immediately.
YouTube also requires a verified channel with no live-streaming restrictions in the previous 90 days. Its current minimum age for live streaming is 16. Check YouTube Studio → Settings → Channel → Feature eligibility if Go live is unavailable after the activation window.
There is no shortcut around that first activation period. Click enable now, then use the wait to prepare your video, title, thumbnail, and encoder. Do not schedule a launch for the same evening until the Live Control Room actually opens for your channel.
Is streaming a recorded video as live allowed?
Yes, provided you own the video or have the rights needed to broadcast every part of it, including music. YouTube’s live-stream terms require the broadcaster to hold the necessary rights, while its Community Guidelines still apply to the content and presentation.
A recorded source is not permission to rebroadcast a film, sports feed, television show, music compilation, or another creator’s video. Content matching another copyrighted live broadcast can restrict your live access. Your title and description should also describe the programme honestly; do not imply a real-time event, breaking update, or camera feed when that is not what viewers are watching.
For a deeper policy breakdown, read whether looped streaming is allowed on YouTube. The safe baseline is simple: broadcast work you control, license third-party elements properly, and make the format clear.
Prepare the file for a stable broadcast
Use an MP4 with H.264 video, AAC audio, and a constant frame rate. This combination is widely supported by encoders and matches YouTube’s expected ingest formats. If your file is variable-frame-rate footage from a phone, export a constant 30 fps version before attempting a long run; this reduces the chance of timing drift.
Install the free MediaInfo utility, open the file, and check these fields:
- Format: MPEG-4.
- Video: AVC/H.264 at a constant frame rate.
- Audio: AAC, ideally 48 kHz.
- Dimensions: the resolution you intend to stream, such as 1920×1080.
Watch the final 15 seconds followed immediately by the first 15 seconds. A hard audio cut, black frame, or sudden volume jump becomes obvious on every loop. Fix the seam in your editor before uploading. For export choices and why they matter, use the 24/7 streaming format guide.
Get your YouTube stream key
Go to YouTube Studio → Create → Go live → Stream. In Stream settings, find the stream key selector, choose the default key for a reusable setup, and click Copy. You normally paste only the key into your encoder; a manual tool may also ask for the RTMPS server URL shown in the same panel.
Treat the key like a channel password. Anyone holding it can send a broadcast to your channel. Do not put it in a screenshot, support ticket, public command, shared document, or tutorial video. If it leaks, reset it in Live Control Room and update the encoder with the new value. The full path and recovery steps are in the YouTube stream key guide.
Use one publisher per stream key at a time for this workflow. Starting OBS while a cloud service is already pushing through the same key can make the feeds compete or replace each other. Stop the first publisher before testing the second, or create a separate stream key and broadcast event.
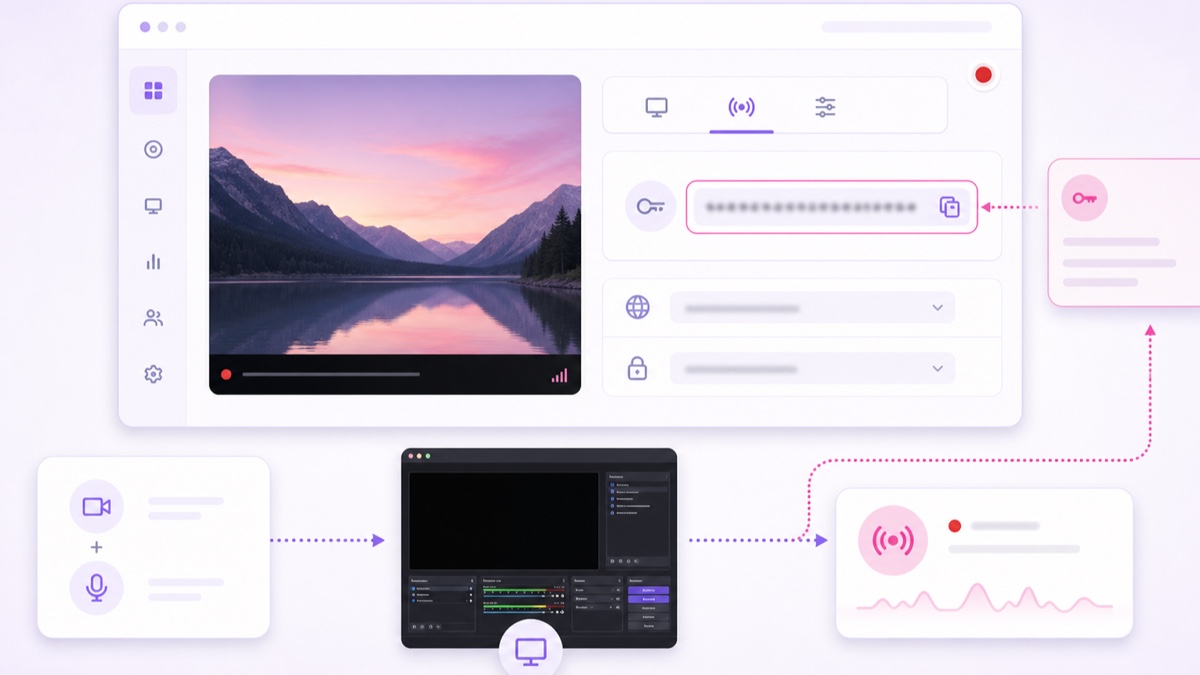
Method 1: use a cloud loop service with no PC
A cloud service is the simplest option when the video is on your phone, your home internet is unreliable, or you want the broadcast to continue after closing the laptop. You upload the file once; the provider’s server becomes the encoder.
StreamNeo is our product, so here is the exact worked example rather than pretending the recommendation is neutral:
- Upload: create your account, open Videos, choose Upload, and add the prepared MP4. Wait until processing completes and the video appears in your library.
- Configure: activate the free demo slot, open Streams, select that slot, enable YouTube, and paste the stream key. Open Choose Videos and select the uploaded file.
- Start: press Start Stream. Open YouTube Live Control Room, wait for the preview and healthy connection indicator, then click Go live if YouTube presents that final confirmation.
The file loops in the cloud until you stop the slot or its access period ends. Your phone can lock, your browser can close, and your laptop can remain off because none of them is sending the live feed. You can return to Streams later to check status or stop the broadcast.
Before making the stream public, run at least one complete loop as Unlisted. Listen across the join, test on mobile data as a viewer, and confirm that YouTube reports healthy ingest. Cloud removes the always-on computer, but it does not remove your responsibility to check the source, rights, metadata, and destination settings.
Method 2: loop the file in OBS
OBS is free and gives you scenes, overlays, audio mixing, and camera inputs. It is a strong choice for a scheduled replay or a production that someone will supervise. Its trade-off is physical: the computer and upload connection must remain on for the entire broadcast.
- Open OBS and create a new scene.
- Under Sources, click + → Media Source.
- Select Local File, choose your MP4, enable Loop, and confirm.
- Open Settings → Stream, choose YouTube as the service, select the stream-key option, and paste your key.
- Check the audio meter, click Start Streaming, then watch for the preview in YouTube Live Control Room.
Disable automatic sleep, connect the laptop to power, and avoid a Wi-Fi network that other people may saturate. Do not close OBS or move the source file while live. If the computer restarts, loses power, installs an update, or drops its uplink, the stream stops until OBS reconnects.
Method 3: use an FFmpeg one-liner
FFmpeg is suitable when you are comfortable with a terminal and want a minimal encoder on a computer or VPS. For a compatible H.264/AAC file, this copy-mode command loops the input forever without re-encoding:
ffmpeg -stream_loop -1 -re -i "video.mp4" -c copy -f flv "rtmps://a.rtmps.youtube.com/live2/YOUR_STREAM_KEY"
Replace the filename and placeholder locally. Never publish the completed command or leave the real key in shared shell history. The -re option reads the file at playback speed, -stream_loop -1 repeats it, and -c copy avoids a costly encode. If YouTube rejects the stream or audio is missing, stop and re-export a standard H.264/AAC MP4 rather than forcing copy mode.
This method is lean, not maintenance-free. The terminal process and machine must stay alive, and a production setup needs restart handling, monitoring, log control, and a safe way to store the key. It makes sense for a terminal-comfortable creator who already manages a server; everyone else will usually spend less time with the cloud route or OBS.
Go-live checklist and how to keep it running
Do the first test as Unlisted. That creates a real watch page without announcing it broadly. Use the unlisted live-stream test checklist if you want a ten-minute rehearsal before publishing.
| Check | What to verify |
|---|---|
| Title and description | Name the programme clearly and disclose that it is a recorded or looping broadcast when that context matters. |
| Thumbnail | Use a readable 16:9 image that represents the actual video, not an unrelated breaking-news frame. |
| Visibility | Test Unlisted; switch to Public only after video, audio, and loop behaviour pass. |
| Audience | Answer “Made for kids” truthfully. This setting affects chat, comments, reminders, and personalised ads. |
| Stream health | Wait for a stable preview and resolve red errors before inviting viewers. |
| Publisher | Confirm only the intended cloud service, OBS instance, or FFmpeg process is using this key. |
Once public, check Live Control Room after launch, after the first loop boundary, and at least daily on an always-on stream. Look at stream health, the visible picture, audible sound, and the actual viewer watch page—not only the encoder’s “running” indicator.
Plan your archive separately. YouTube says streams under 12 hours can be automatically archived, but a stream exceeding 12 hours may not be captured at all. Keep your original file, record important live-only elements separately, and create highlight clips while live if you need them. The platform’s archival behaviour is not a backup system.
If you want the no-PC route, Start free — 24-hour trial, no card.
More from the journal: 24/7 Live Stream Settings in YouTube Studio: Every Toggle Explained · Backing Up a 24/7 YouTube Channel: Files, Keys, Metadata and Recovery · Building a 24/7 YouTube Channel From a Single 20-Minute Video
FAQ
Is streaming a pre-recorded video as live legal on YouTube?
Yes, when you own the video or have all rights required to broadcast it, including music rights, and the stream follows YouTube’s policies. The risky part is not the fact that a file is pre-recorded; it is using unlicensed material or presenting the programme deceptively. Describe the format honestly and keep proof of licences.
Do viewers see that the video is pre-recorded?
A normal encoder broadcast appears in YouTube’s live player; YouTube does not add a special source-file badge. That is not a reason to conceal the format. If timing could confuse viewers, say “pre-recorded loop,” “recorded session,” or similar wording in the title or description so the live delivery and recorded source are both clear.
How long can a pre-recorded YouTube live stream run?
The encoder can keep sending the loop until you stop it or a platform, key, network, machine, or service interruption ends the push. However, YouTube may not capture an archive when a single stream exceeds 12 hours. See how long a YouTube live stream can run for the operational limits and reset strategy.